Many people already own, or can borrow, a bike that is perfectly good for learning. More important than the price tag is whether the frame is the right size for your body and whether the bike has been checked over: tyres inflated, brakes biting, chain clean and lubricated.
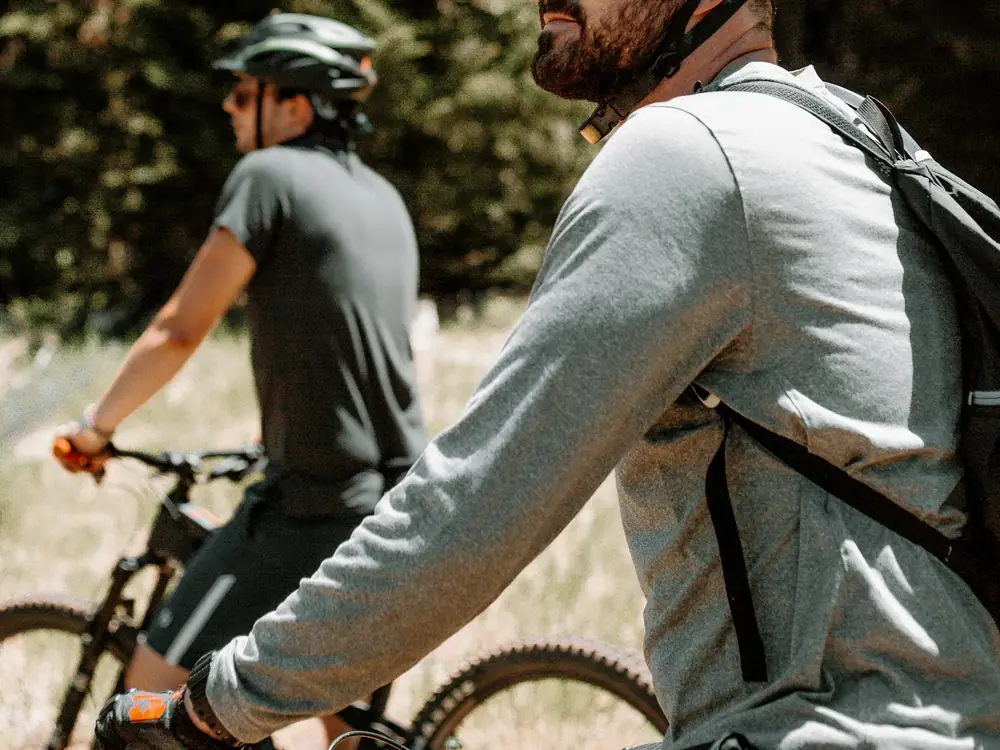
This kit focuses on road, path and light gravel riding. Mountain biking follows the same logic but adds knee pads and gloves higher up the priority list. If you ride on UK roads, read the cycling sections of the Highway Code: they cover road position, junctions and lights, and advise wearing a helmet.
Essentials checklist
Tick items off as you sort them. Your ticks are saved in this browser only.
Bike
Protection
Roadside
Fit and size guide
Bike and helmet sizing both start with a measurement. Frame size charts differ by brand, so use your height and inside-leg measurement as the starting point and then test the actual bike. For helmets, measure head circumference with a soft tape just above the eyebrows.
| Item | How to measure | Fit check |
|---|---|---|
| Frame size | Height plus inside-leg (floor to crotch, barefoot) | Standover clearance and a relaxed reach to the bars |
| Saddle height | Sit on the bike with the pedal at its lowest point | Leg almost straight with a slight bend at the knee |
| Saddle position | Pedals level, side view | Front of the knee roughly above the pedal axle |
| Helmet size | Head circumference in centimetres, above the eyebrows | Snug before tightening the dial; no rocking |
| Helmet straps | Buckle fastened | Straps form a "V" under each ear; one finger fits under the chin strap |
Size ranges are general guidance. Always check the manufacturer's chart and your club or league rules.
Skip for now
These items are genuinely useful later. In a first season they mostly add cost and decisions.
- Clipless pedals and cycling shoesWorth exploring later; flat pedals are simpler while you learn to stop and start in traffic.
- Power meters and bike computersA phone app handles route and distance.
- Full lycra kitPadded shorts help on longer rides, but ordinary sportswear is fine to start.
- Carbon upgradesWeight savings count for far less than fit and maintenance.
Your first four weeks of gear
- Week 1
Check the bike
Inflate tyres to the pressure printed on the sidewall, test both brakes, and clean and lube the chain.
- Week 2
Fit the helmet and saddle
Measure your head and adjust saddle height. Small changes make a big difference to comfort.
- Week 3
Pack the roadside kit
Add a spare tube, levers and pump. Practise a tube change at home once.
- Week 4
Add comfort
Consider gloves and padded shorts if rides are getting longer.
Rent, borrow or buy?
Cycling is where renting and borrowing make the most sense. Many towns have hire shops and bike-share schemes, and a weekend hire lets you try a road bike, a hybrid and a gravel bike before spending anything. If you borrow, get the bike checked and adjusted to your size. Helmets are the exception: buy your own, because a helmet that has taken an impact may be damaged in ways you cannot see.
Budget tiers, described plainly
Entry level: a serviced second-hand bike from a reputable shop or community workshop. Often excellent value in the sport. Mid-range: new aluminium hybrids or entry road bikes with reliable, widely available components. Premium: lighter frames and higher-end groupsets. A pleasure once you ride often, not a requirement to start.
Gear care
Wipe the chain and re-lube it after wet rides. Check tyre pressure weekly, since tyres slowly lose air even when parked. Replace your helmet after any crash where it takes a knock, and follow the maker's guidance on age. Store the bike indoors or under cover to limit rust.
Our guides to sizing sports shoes and the first-season checklist apply to every sport.